

Today I’m going to show you seven of the biggest mistakes that people make when using led strip lights in their projects, and how to avoid them to make your installations look way more professional.
In my humble opinion, the diffuse light provided by led strip lights looks way better than the harsh point light that you get from a light bulb.
But while interior decorators have been showing us how to use light bulbs correctly for decades, we haven’t really figured out this whole led strip thing yet.
Today I’m going to cover seven of the biggest led strip light installation pitfalls, and how you can avoid them.
If you’re thinking about setting up a light show for Halloween or Christmas this year, now is the time to start planning and learning.
Let’s start out with the biggest and most obvious failure that I see exposed led strips. LED strips are ugly and the LEDs themselves give off a pretty harsh light.
When at all possible you should try to mount your strips out of sight, and project it towards another surface, and while this works great for strips that are behind the tv or under kitchen cabinets.

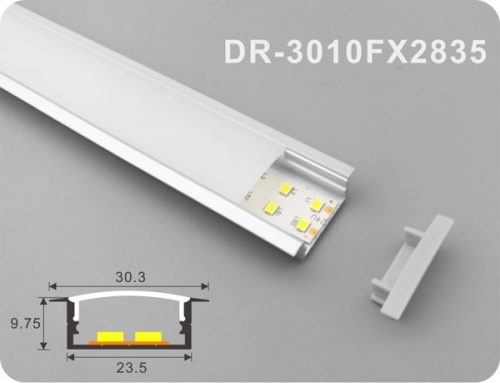
Sometimes there’s nothing to project onto, in those instances you should instead install your LEDs inside of a channel with a diffuser, not only do these channels hide the led strips themselves, but they’re also much easier to mount and keep straight than the bare led strips.

Typically, these channels are made out of aluminum, which means they’re lightweight.
They won’t rust and they can be cut easily with a cheap hacksaw, you can get them in unfinished aluminum, or black color, and they come in different shapes.

My two favorite versions are the 45-degree angle mounts for use in corners, and the standard flat profile for mounting to walls or roof lines.
Here’s an easy tip when using these channels that will make your installs look 10 times better.
Layout all your channels, and cut them to length, but don’t use the cut cover with the cut channel, instead of offsetting the seams of your channels and your covers to make the installation look completely straight.

Even when it’s not perfect, occasionally you’ll want to put your led strips in a more organic shape, that can’t be accomplished with aluminum channels.
Like maybe this curve on the back of my desk, for this application, you can get these silica gel neon tube covers, that do a great job of both diffusing the light and waterproofing while hiding the ugly led strips inside.

when you order, you need to make sure that your led strip is narrow enough to fit inside the channel that you choose and that the direction that you want to bend your led strip is compatible with the tube type, meaning any bends in the strip need to be up and down and not left to right.
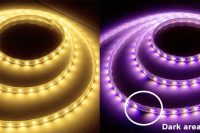
The second common problem that I see all the time in led installations is in indirect installations, where somebody fails to keep a uniform distance and angle to the surface that they’re projecting on.
This can cause hot spots in the light which can distract from the overall look and feel of the project.
In my experience, these hot spots are usually either caused by turns in the led strip or the adhesive failing which causes the strips to droop down.
Fortunately, both of these problems can be solved pretty easily for not very much money.
I’ve seen a bunch of tutorials for installing television bias lighting, that suggests making a loop in the corner of your tv to avoid bending the strip too much, and while it’s great advice to avoid bending your led strips.

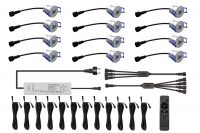
A loop in the corner is going to create a hot spot as the number of LEDs in that area increases, and also get closer to the wall, a much better option is to buy some solderless led corner connectors.
All you need to do is match up the number of copper pads on your led strip, to the number of pins that are advertised on the listing.
For instance, this tunable white strip has 3 pins, so you would search for a 3-pin corner connector. But this RGBW strip has five copper pads, so you’d need to get a 5-pin corner connector instead.
To install them all you need to do is cut down the middle of the copper pads on your led strips, and then clip them into place using the plastic tabs.

In addition to corner connectors, there are also just wire leads that will allow you to create custom angles or jump a gap, like maybe going from one kitchen cabinet to another.

To prevent the notoriously terrible led strip adhesive from failing and making your project look like a droopy mess.
I’d highly recommend using mounting clips. For a little over 10 cents, each these little things can do an infinitely better job holding your strips in place than the standard adhesive.
And you don’t even need to use that many of them, just place them in the corners and anywhere that the strip isn’t lying completely flat on the surface.
This will reinforce the adhesive tape that’s on the back of the strip and give you a long-lasting droop-free installation.

The third common issue is going to require a little bit of a reality check on your part, ask yourself how often you’re realistically going to want your led strip to be a color other than white.
The most common type of led strips are RGB, meaning they have three different LEDs in them: red, green, and blue.
If you want to make pink, you’d turn on the red channel and the blue channel.

If you want to make yellow, you’d turn on red and green, and to make white, you turn on red, green, and blue, but it doesn’t really look white.

At least not the pure white that we’re used to and it ends up looking kind of purple and gross.

To avoid this, you can either buy all white strips or RGBW strips that have a dedicated white channel. But be aware that, not all RGB strips are made equal, and some strips have four colors on a single chip.

While others have a dedicated white chip and then a separate RGB chip.

For installations where the LEDs are going to be visible, you should absolutely choose the four in one chip. Because otherwise, you’ll never be able to mix the white channel with the color channels.

But in indirect lighting situations, you should use the separate white chip, which will be brighter and have better heat dissipation.
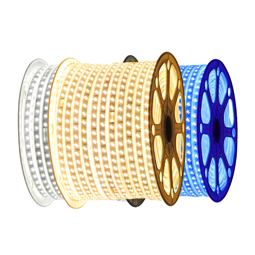
For areas where color isn’t needed, you should opt for all white strips, or if you want to get really fancy tunable white, strips can be used that allow for wide customization of the white channel color temperature.
The fourth issue has to do with the length of your led strips and the brightness that you want to achieve.
If you’re planning on a short run and you’re going to keep the brightness relatively low, you can get away with almost any voltage.
But for long runs and higher brightness, you’re going to want to choose a strip that uses a higher voltage, depending on your led strip type.
You’re generally going to see voltages between 5~24v, and higher voltages will result in more accurate colors throughout the strip, and fewer differences in brightness the further you get away from the power supply.
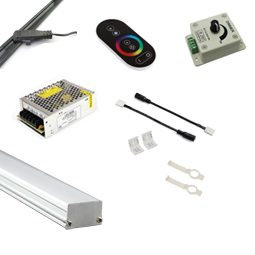
Because you generally don’t find led strips and power supplies sold together, you’ll need to make sure you get the right power supply for your strip or strips that you want to use.

Thankfully, you don’t need a degree in electrical engineering to pick the right power supply, no matter how many strips you put together. The voltage never changes but the wattage and the amperage are going to add up.
That means if you were going to use three 24V 5A 120W led strips daisy-chained together, you’d need to buy a 24-volt power supply rated for at least 15A and 360W.
It’s never a bad thing to go over when it comes to amps and watts, but the voltage needs to match exactly.
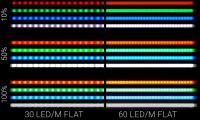
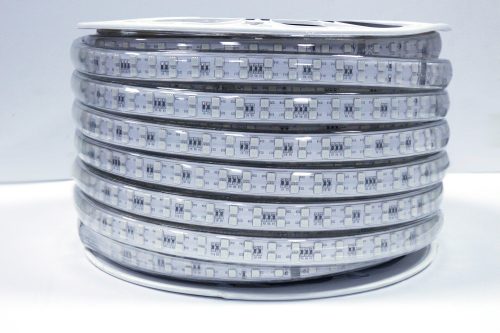
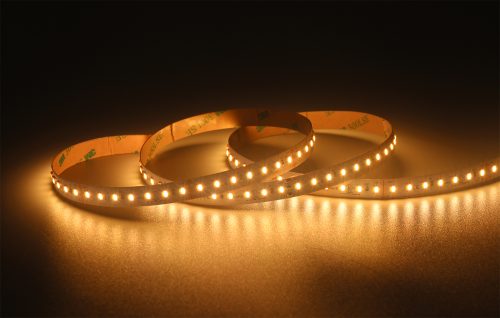
Along with power consumption comes the fifth issue that I see, led density. Generally speaking, the greater the led density, the more expensive the strip will be.

But the increased density will also give you better color accuracy, diffusion, and brightness. If you’re going to be able to see the strip, even though a diffuser, increasing the density will noticeably improve the look of the strip.
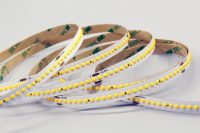
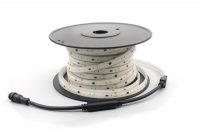
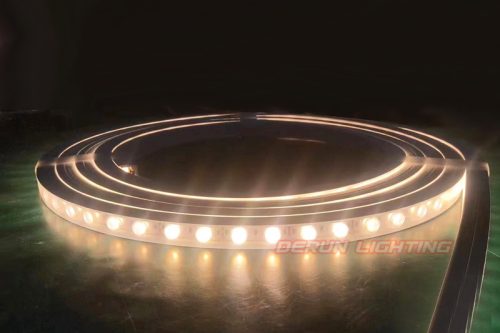
The lowest density available is generally 30 LEDs per meter, and they can go all the way up to 144 LEDs per meter, or even more than that.

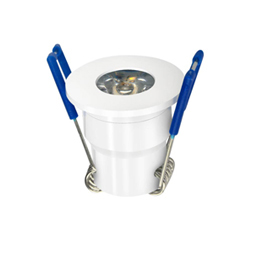
Like in this crazy white led strip in this photo, that doesn’t have any visible LEDs, just a long continuous tape of tiny white LEDs, that are only distinguishable at very low brightness.
So why would you choose anything but the highest density well?

Along with density comes power consumption, and along with power consumption comes heat, and heat is the number one killer of LEDs.

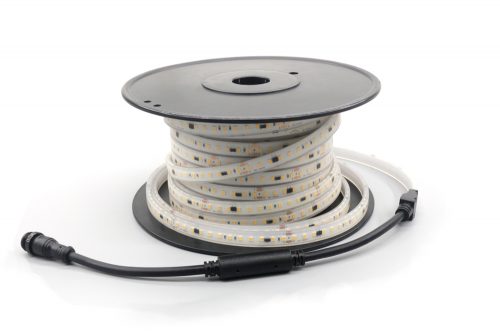
The hotter they get the lower their lifespan will be, and their brightness will also decrease over time. The aluminum channels we discussed earlier to do a great job of dissipating heat from your led strip.
But sometimes mounting your strips to metal isn’t an option, and in those cases, you need to give conscious thought to how your led strip is going to get rid of that heat.

In the case of an aluminum channel, the heat is transferred through the back of the strip to the large metal enclosure.
But if you mount your strip to wood, which is notoriously bad at transferring heat, you’ll need to plan for adequate airflow across the top of your LEDs, and that leads me to my next point, waterproofing.

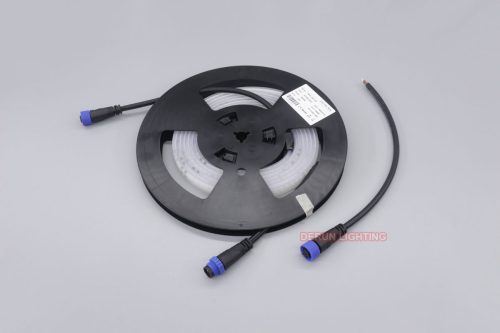
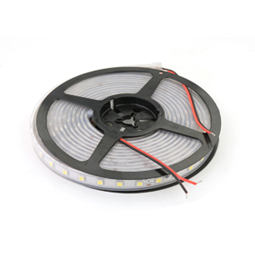
Led strips come in three waterproofing types, there’s ip20 or 30, which basically means no waterproofing at all.
Where, the electronics are pretty directly exposed ip65, which covers the top of the strip in a waterproof silicone layer. That’s sufficient for led strips that will occasionally be splashed or exposed to high humidity.
And then there’s ip67, where the strips are sealed in a silicone sleeve that provides a completely watertight seal in the strip.
Generally speaking, as waterproofing increases, heat dissipation also decreases. So choose wisely and if you don’t need waterproofing, don’t buy it.
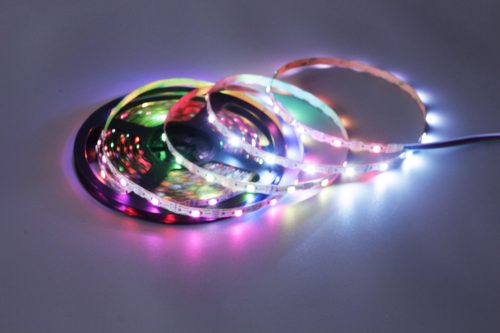
Sixth, what the heck are individually addressable LEDs. If you’ve ever seen an led strip where each individual led is doing something different, that’s an individually addressable led strip.
On a traditional strip, there’s a common positive voltage that goes to each led on the strip, and then there’s a separate control for each color on the strip.

But the entire strip shares those same controls for the red channel, the blue channel, and the green channel. In an individually addressable strip, each led has a tiny microchip that takes instructions meant only for that one led.
So every led can do something a little bit different. I love individually addressable LEDs, and with some knowledge and basic coding they can accomplish things that wouldn’t be possible with a traditional or what are sometimes called dumb led strip.
But out of the box, they aren’t nearly as user friendly. You can buy pre-made Bluetooth and wi-fi controllers for individually addressable strips, but without a little bit of programming knowledge, your options are still going to be really limited, and you’re going to end up spending more on the strip itself.

On top of that, individually addressable led strips are much more vulnerable to damage, and in most addressable led strips, a single dead LED can cause the rest of the strip to completely stop working.
My advice on this subject, unless you have a specific reason for choosing addressable led strips, traditionally led strips will be much cheaper and perform better.
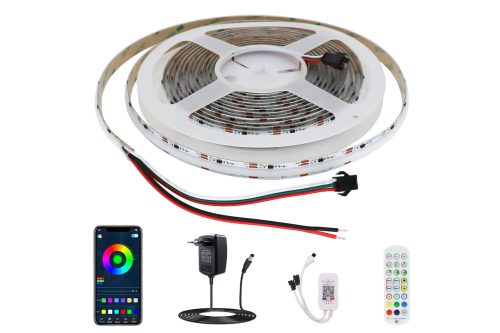
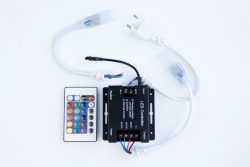
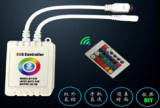
And finally, the last mistake that I see people make all the time with their projects is how they control them. The most common controllers out there are these small infrared remote controls.
But if you need to grab a cheap plastic remote anytime, you want to turn on your led strip, you’re probably not going to do it very often, and the Bluetooth controllers that require you to open up an app on your phone are even less likely to get used.
A simple solution is to connect the power supply of your strip to a switched outlet or a smart switch, in which case your led strips will turn on with the same settings that they had when the power was lost.
But better control options definitely do exist, the Shelley RGB w2 for instance connects via wi-fi and gives brightness and color controls via amazon echo or google assistant, and it can be tied with a smart home hub to adjust the lighting based on the time of day, or tie the led strip to a light switch that it isn’t physically connected to.
So what do you think, did I miss a mistake that you’ve made? let me know down in the comments.