

Today is Monday, maybe some of you still not wake up from the weekend. anyway, now let’s cheer up to share positive energy.
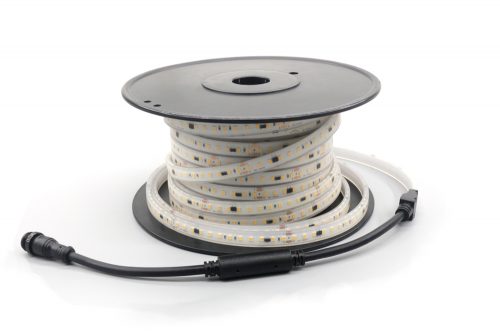
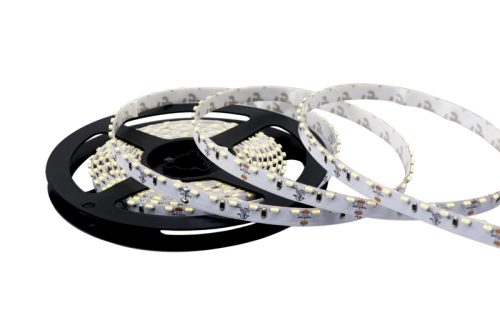
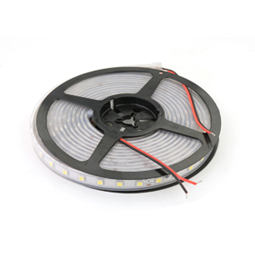
Earlier we talked about how to quick connected the strip to strip with the connectors, it is very easy to connected strip with the quick connector, but if there is no quick connector, what should we do? I think Soldering is the direct way to connect led strip. below are the points we get from the engineer:

Any 30W-60W soldering iron that the best recommend temperature adjustable for soldering .and capable of soldering at around 500°-600°F. We also recommend using a thin rosin core solder and having a wet sponge or steel pad for cleaning the tip of your solder gun.
Once your soldering iron is hot enough, tin your RGB wire by applying a small amount of solder directly to the stranded wire.
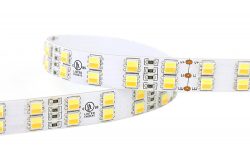
The next step is to tin the copper dots on your led strip Light by melting a small amount of solder directly to the copper dots. Be sure not to apply so much that the solder is overlapping, this will cause unwanted color changes on your RGB LED Strip Light.
Once you have tinned both the wire and the copper dots on your RGB LED Strip Light you can now mate the two together. Individually place the wire to the copper dots and then place the soldering iron over both in order to heat up each solder enough to melt and become one.
Be sure to hold long enough foraging time. Once dry, connect your freshly soldered LED Strip to a proper power source and test your connection. Use a heat gun to shrink your heat shrink to protect your solder joints and then test one more time.
Hope this article will do some help for every customer.